


Artisan Free-Form Recipe
Full credit for this recipe, and even attempting to make this bread, goes out to Zoë François.Zoë is a professional pastry chef, author, and television star. I came across her work years ago but recently started watching her show on the Magnolia channel. She lives here in Minnesota, I'm a bit partial about that fact being a Minnesotan myself, and the show takes place in her Minneapolis kitchen. More importantly what I admire is her fearlessness and the ease she has towards everything she bakes. Making it look easy inspired me to try!! Thanks Zoë.Being a cautious first born myself, trying new things isn't my strong suit. Bread baking was high on my list of fears I had in the kitchen. However, in one of Zoë's episodes she baked this bread and broke down the how and the why so clear and concise I was motivated to give it try. I also was willing to fail. Failed I did 3 TIMES (that's a lot of flour to waste). But being a beginner I went back to her recipe and other recipes and researched and changed a couple of things and the dough not only turned out IT WAS MAGIC, just like Zoë said it would be. You will LOVE this bread and the ease of having it sitting right in your refrigerator ready anytime you and your family want really good bread on the table.
Ingredients
- 3 cups Lukewarm water (100°F or below)
- 1 tbsp granulated yeast
- 1 to 1 1/2 tbsp kosher salt
- 6 1/2 cups all-purpose flour (scoop-and-sweep method) 2 pounds
Instructions
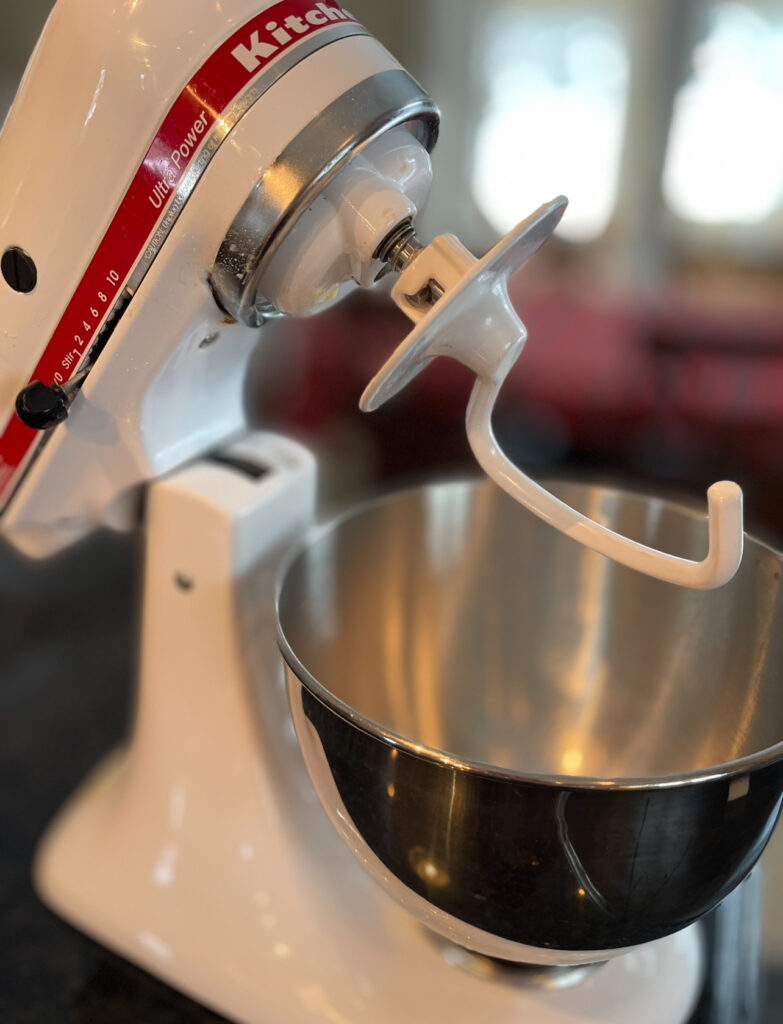
- These are the steps that helped me produce the right consistency of dough. Step 1,Put your warm your water in a medium size bowl and add the dry yeast to the bowl. Stir slightly and let it sit for 10-15 minutes. Using a Kitchen Aid stand mixer with the dough hook attachment add the flour, and salt into the mixers bowl and stir with the dough hook for 1 minute.With the mixer on low add the water soaked yeast to the flour and mix until the ingredients all come together and there are no dry patches of flour. The dough will be wet and loose.
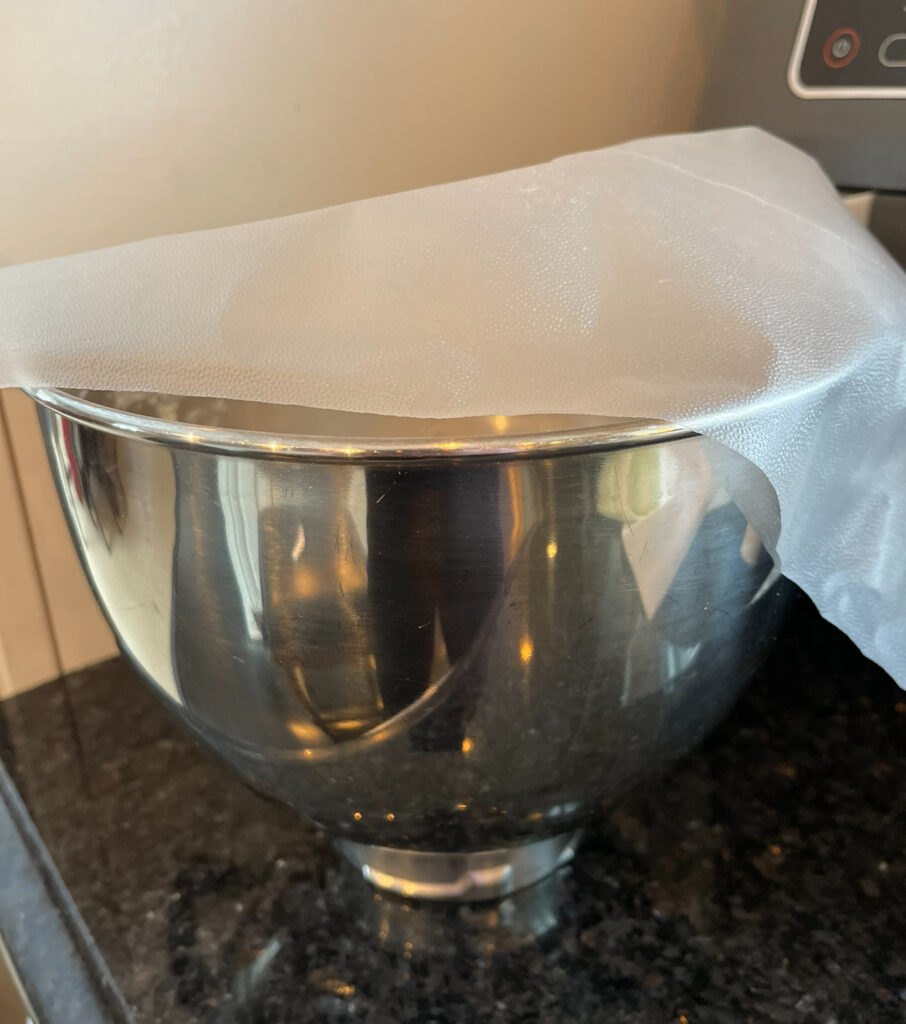
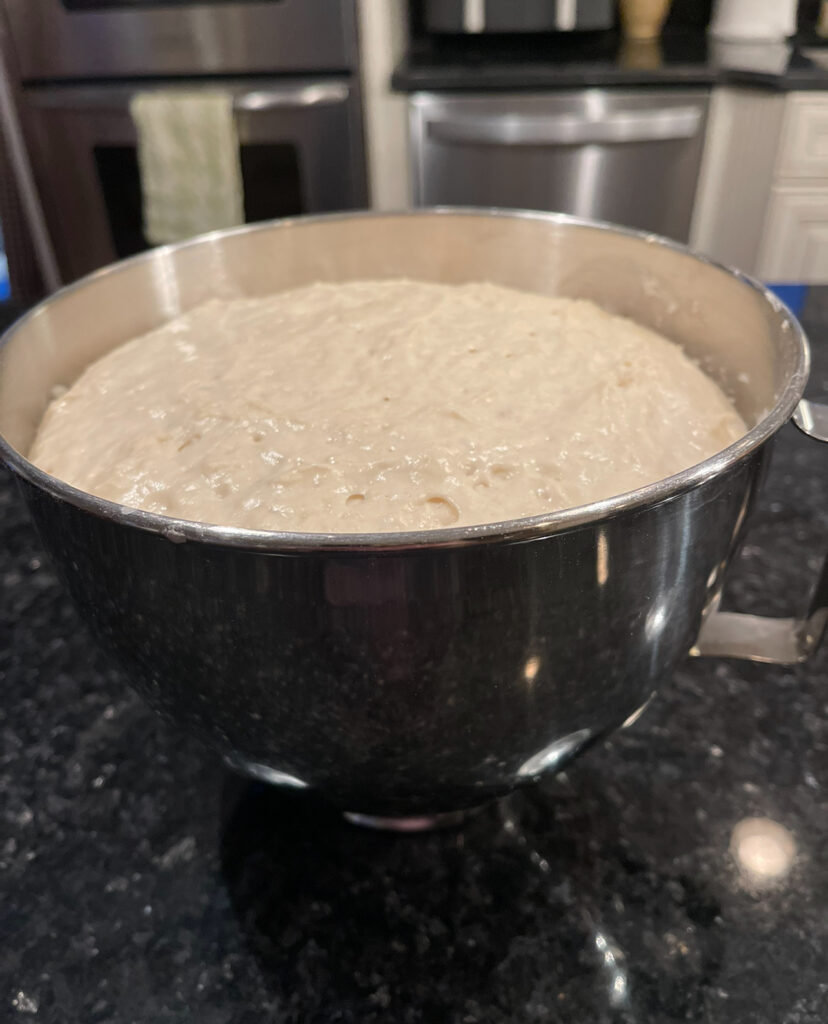
- Step 2,Take the bowl off the stand mixer and cover loosely with plastic wrap and let the dough rise for about 2 hours at room temperature. Once this happens cover the bowl tightly with the plastic wrap and place in the refrigerator for up to 14 days. Or you can use some of the dough and start making bread.
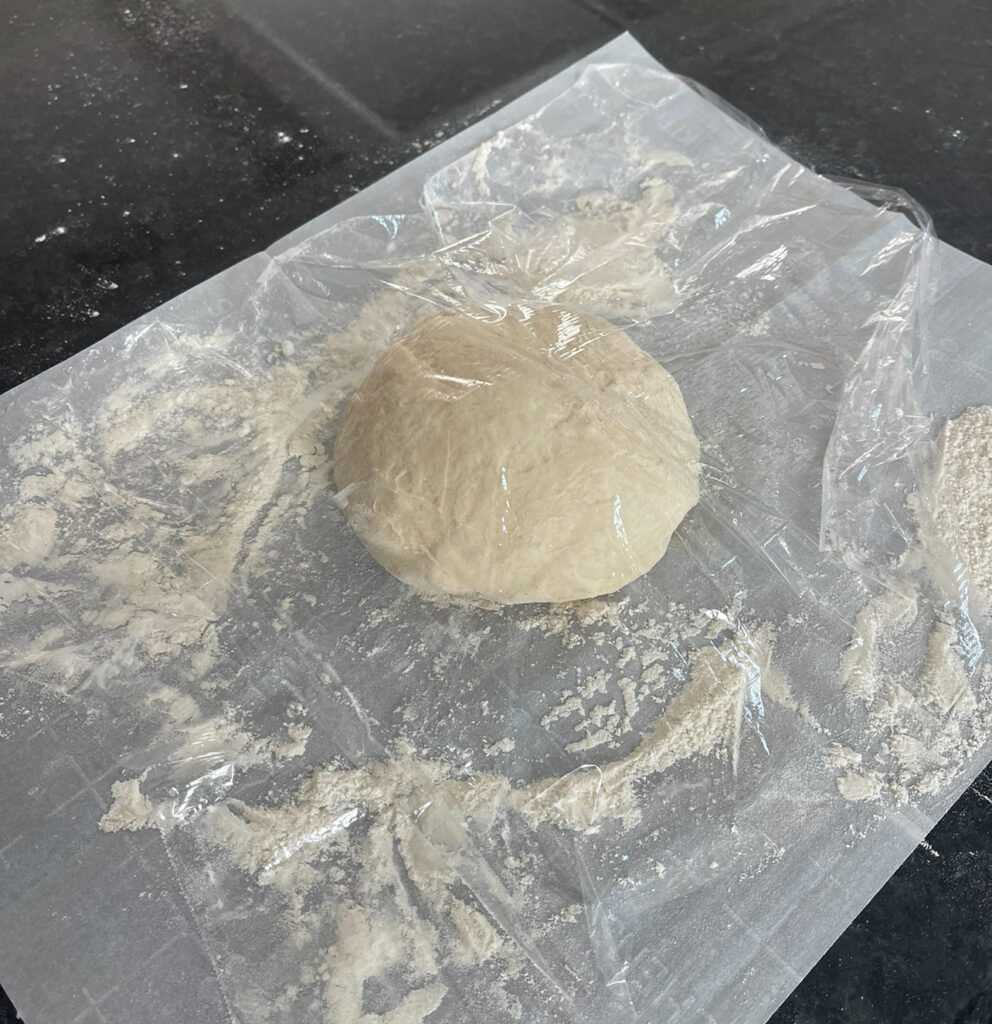
- Step 3,On the day you want to bake the bread. Grab about a grapefruit size ball of dough from your prepared dough in the refrigerator. Flouring the parchment paper you are placing the dough on to bake, flouring your hands, gently stretch the surface of the dough, rotating the dough ball as you go, around to the bottom of the dough ball. The bottom of the loaf will look like a collection of bunched ends. It will flatten during baking. this process should only take a few seconds.
- Step 4, Placed the shaped dough ball on the parchment paper, covered loosely with plastic wrap and let it rest for 40 minutes.
- Step 5,Heat the oven to 450° While the oven is preheating/ preheat a dutch oven or pizza stone or baking sheet/ place in the oven for about the last 20 minutes before you bake the bread on it. I used a dutch oven with a lid to bake this loaf of bread. I linked the dutch oven I used at the bottom of the Post.Do Not use glass it may shatter.
- Step 6,Slash a 1/2 inch deep line across the top of the rested dough ball, or tic-tac-toe pattern into top of the rested dough ball. Take the preheated dutch oven out of the oven and lift the rested dough ball, with the parchment, into the dutch oven and cover with the lid. Place in the oven for 30 minutes. Take the lid off and bake uncovered for 5 more minutes. If the loaf isn't browning to the color you are desiring keep it in the oven longer. I check it every 2 minutes and leave it in the oven if it still isn't hitting the right browning on top.
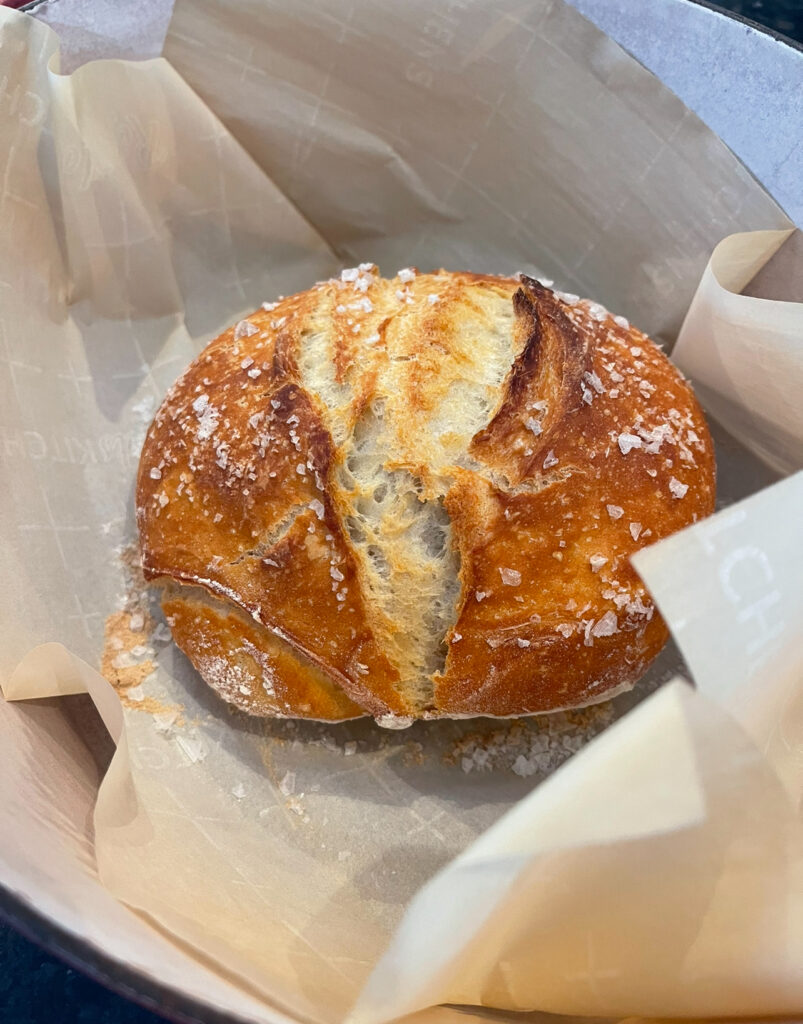
- Once the dough is done I take it out of the oven and out of the dutch oven, by the parchment paper again. I place the parchment and baked bread on a wire rack. Once you do this you will hear the crackle or "sing" of the baked loaf. Let it rest for 1-2 hours. Then slice.Note: I sprinkled flaked seas salt on top of the loaf before I baked it. SO GOOD!!Also I've linked Zoë's cook book "The New Artisan Bread in Five Minutes a Day" so you can start your bread baking adventure as well.Happy Eating!!
I’ve included pictures and videos to show the progression of how I made the bread, I hope that helps.
I did move the dough from the kitchen aid stainless steel bowl and transferred it into a plastic container.
The finished product it was worth the wait.
Tap Below to Shop this Post

One last thing…the “sing” or crackle of the bread when it is done.


